Adding extra TriCaster inputs to Studio 1 files
posted by
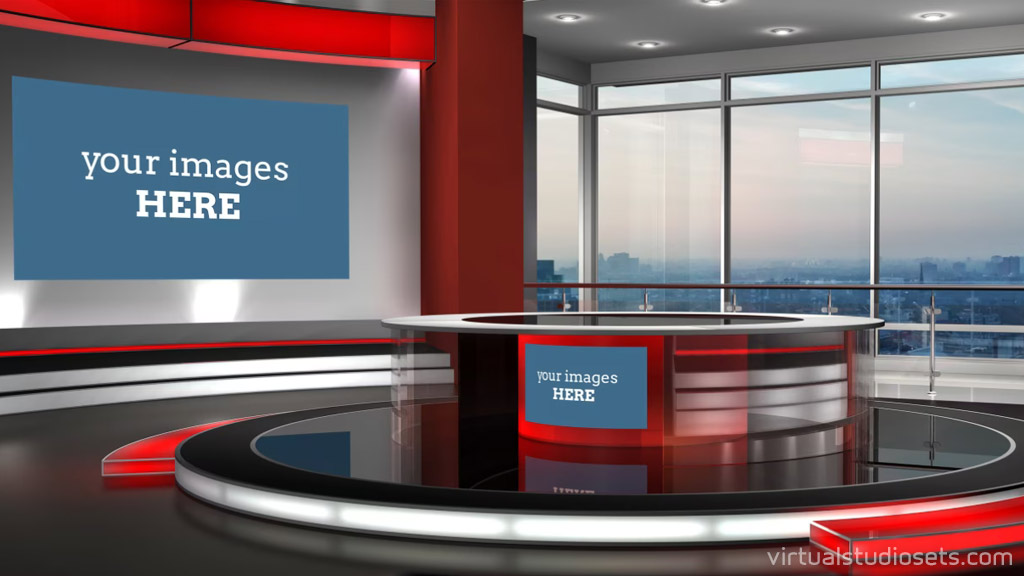
Some time ago we added some extra TriCaster input layers that you could add to your Studio 1 Photoshop documents which provided additional customisable areas on the front of the desk, and on each of the back walls on the wide angles where you could place your own logos, or live video.
These extra layers are now included in the TriCaster versions of Studio 1 and Studio 1B.
We have left the original post below, as it may still be of some use if you’ve created your own UV gradient layers, and want to see how to add them into a Photoshop document. But you don’t have to do anything to add the extra desk or wall patches to the TriCaster versions from now on – they are included FOR FREE!
(original post follows below)
To use these new layers in NewTek’s Virtual Set Editor, you will need to add them to your existing Photoshop document. If you know your way around Photoshop this should be pretty easy, but I thought it would be useful to do a little video that shows in more detail exactly what you need to do
Note: this is only of use to TriCaster users with Virtual Set Editor, and also requires Photoshop itself. These new layers are only visible in the ‘Wide’, ‘Wide Left’ and ‘Wide Right’ camera angles.
There’s also a set of extra TriCaster input layers for Studio 1B and the process of adding them to the Studio 1B .psd is exactly the same.
Video transcript
Hi there,
In this tutorial I’m going to show you how to add the extra TriCaster inputs into your main Studio 1 Photoshop document.
I’ve included a couple of little JPEG images in the pack…
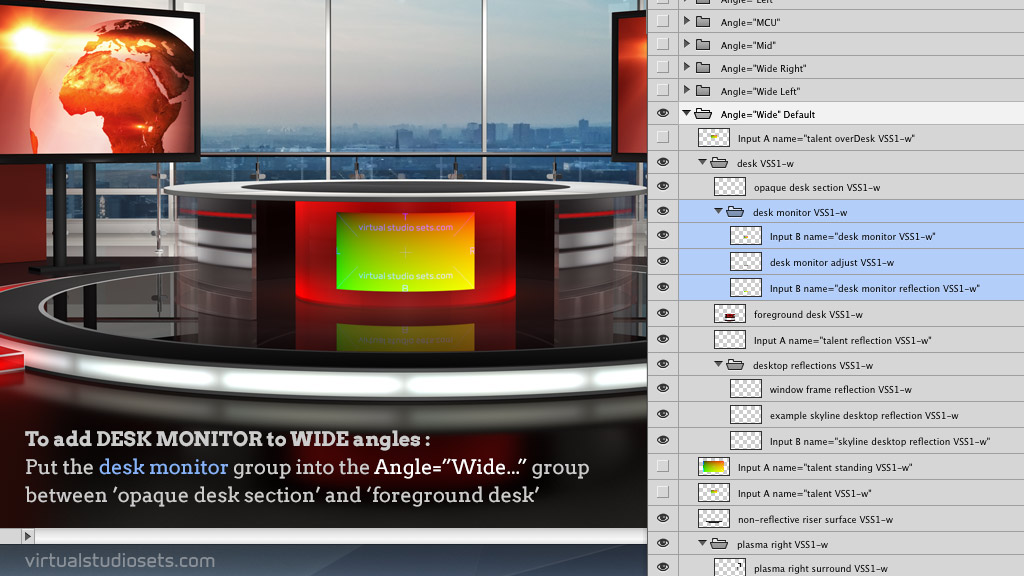
…which explains where the new layers need to go, but I thought it might be useful to do a little video that shows exactly what you need to do.
So here I have the two Photoshop documents – I’ve got the ‘Extra Layers’ file, and the original multi-angle pack Photoshop file for Studio 1. What we’re going to do is to drag the new layers, into this original document. All we really need to do is to make sure they end up in the right place, and in the correct order.
There’s a couple of things I’d suggest you do right at the start.
First, these two documents are tabbed right now, and I think that makes things a bit tricky – so I would drag one of those tabs to the desktop, just so that we can see both Photoshop files at once. On the right here I have the ‘source’ document – that’s the one with the new UV gradients in it. And on the left I’ve got the original Studio pack which is our destination document. It might also be a good idea to make a back-up too, just for safety.
The next thing I’d do is to make sure that there’s nothing selected in the destination document – if you’ve got a shape selected that you’ve drawn, or an area you’ve made using the marquee tool… then when you drag the layer across, Photoshop will try and position it inside that shape – which isn’t what we want at all. So before you start dragging anything, I’d just go ‘Select’ > ‘Deselect’ from the menu, or press CMD-D to deselect all.
OK, so let’s start by adding the desk monitor to the wide angle. Go to your original Studio 1 document, find the ‘Wide’ angle group and find the existing desk layer – it should be called ‘foreground desk’. We want to highlight that layer in the layers tab, so when we drag over our new layers they’ll be added right above the layer we’ve got highlighted. We’re moving the desk monitor, so it needs to go immediately in front of the desk layer.
So with the desk highlighted in the destination document, we go back to our source document, and highlight the ‘Desk Monitor’ group. You could highlight all of the layers inside that group too if you want, but it’s enough just to highlight the group name itself.
Then you need to hold down Shift (this will make sure the dragged layers stay in the right position) and I’ll drag that group into the destination document. You’ll see the edge of that document will kind of highlight when it’s ready for you to drop them. And when you let go – there they are, in the right position, just above the desk layer.
And then you can do the same with the desk monitor for the Wide Left angle – go into the Wide Left group – highlight the desk layer – go back to the source document – find the desk monitor group for the Wide Left angle – hold down Shift, and drag it across.
And the same for the Wide Right angle. Highlight the desk layer. Find the desk monitor group. Hold down Shift. And drag it across.
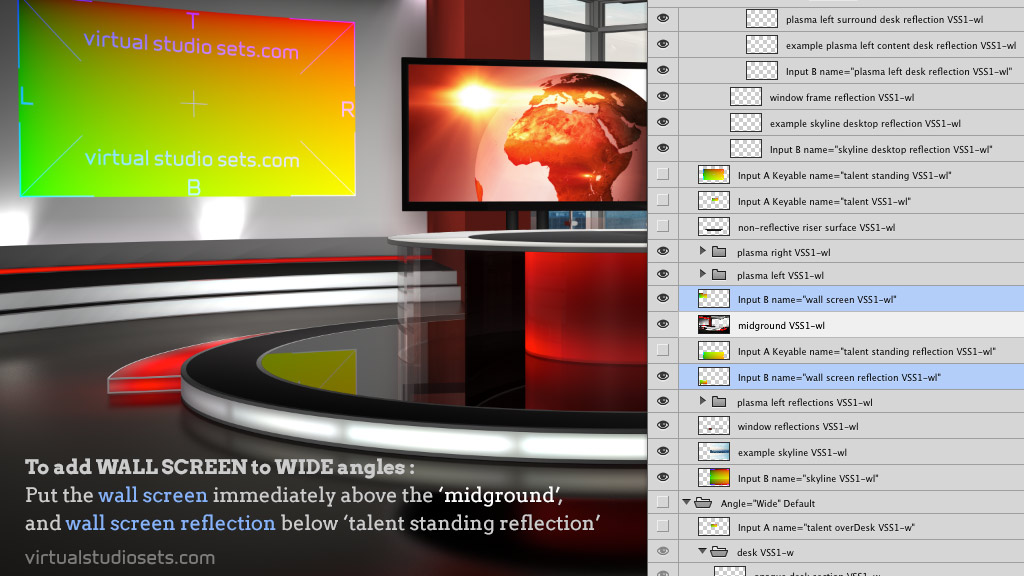
So that’s the desk monitor all done. I’ll just show you how to do the ‘wall screen’ for one of these angles too. We’re on the Wide Right angle here, so for this, you need to find the ‘midground’ layer in the destination document. There it is. And then go back to your source document, and highlight the ‘wall screen’ and ‘wall screen reflection’ layers. Hold down Shift, and drag them across.
Now, you’ll see that the reflection isn’t quite right yet. We need to grab the reflection layer, and just move it down so it’s behind the ‘midground’ layer, and behind the ‘standing talent reflection’ below that. That way – if you’re using the standing talent Inputs, their reflection will appear correctly, in front of this reflected wall screen.
And that’s it really. It’s a bit fiddly, but hopefully you get the idea. As always, if you have any questions, please do get in touch.
Thanks for watching!