Changing colours in virtual sets
posted by
The trick to customizing Studio 1 and Studio 2 is that the ‘feature’ colour will either appear on its own separate layer, or on a layer that is otherwise completely neutral. So it really is very simple to adjust all the coloured bits at once.
Have a look at the image below. It shows the ‘midground’ layer from Studio 2.
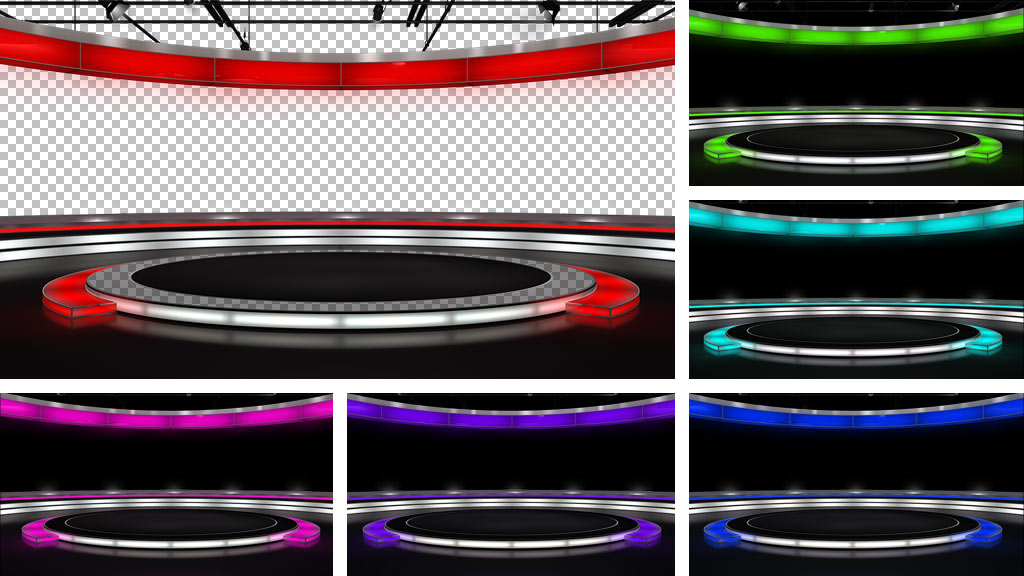
Studio 2 comes supplied with the main feature colour as a pure red. But because the rest of the layer is neutral (and there are transparency areas for everything else), changing the colour will only affect the red bits. Rotating the ‘hue’ is easy in Photoshop, NewTek’s Virtual Set Editor, and pretty much any other graphics package. This will change the red bits to a different colour and everything else stays much the same. If you look very carefully you’ll see that there’s also a little bit of ‘spill’ built in which helps to make everything look very realistic, even if you customise the virtual set with a different primary colour scheme.
vMix versions
What about the vMix versions? Well, I don’t think you’re able to adjust the hue and saturation within vMix. But it’s very easy to do in Photoshop (or any other editor that allows you to adjust hue/saturation etc).
So, let’s say you want to change the ‘red’ to ‘blue’ in Studio 2. Here’s how you’d do it in Photoshop…
1. Make a back-up first. (You should always keep a ‘safe’ copy of everything!)
2. File > Open (navigate to, and choose the layer you want to change – e.g. ‘VSS2-midground-w.png’)
3. Image > Adjustments > Hue/Saturation (then slide the ‘hue’ slider to whatever you like. A value of -130 will change the red to a deep blue.)
4. File > Save (this will overwrite the original).
5. Repeat steps 2-4 for the desk layer (if required).
Please note – this approach only really works for our vMix version of Studios 1 and 2. Some of our other ‘vMix’ Studios will have all different colours merged into the main ‘midground’ layer – it would be very difficult, or even impossible to adjust the colours separately without using the original Photoshop versions. In those cases you would need to use the original .psd to re-make those layers from scratch. It can be quite fiddly – you would need to make sure you’re replacing the midground layer with the correct (tweaked and merged) layers from the original. The image sizes must match, the filename must be the same (unless you text-edit the config.xml file too!), and the file format should be the same as the original (usually this will be PNG-24 with transparency). It’s totally manageable if you are confident using Photoshop, but might result in a bit of trial and error for the novice.
Newsroom backgrounds
There may be one or two places where simply rotating the hue might lead to less successful results…
For example, if you try and change the colour on the entire ‘red’ newsroom layer (supplied with each angle of Studio 2) – you’ll find that it changes every colour by the same amount, and sometimes the end result isn’t totally convincing.
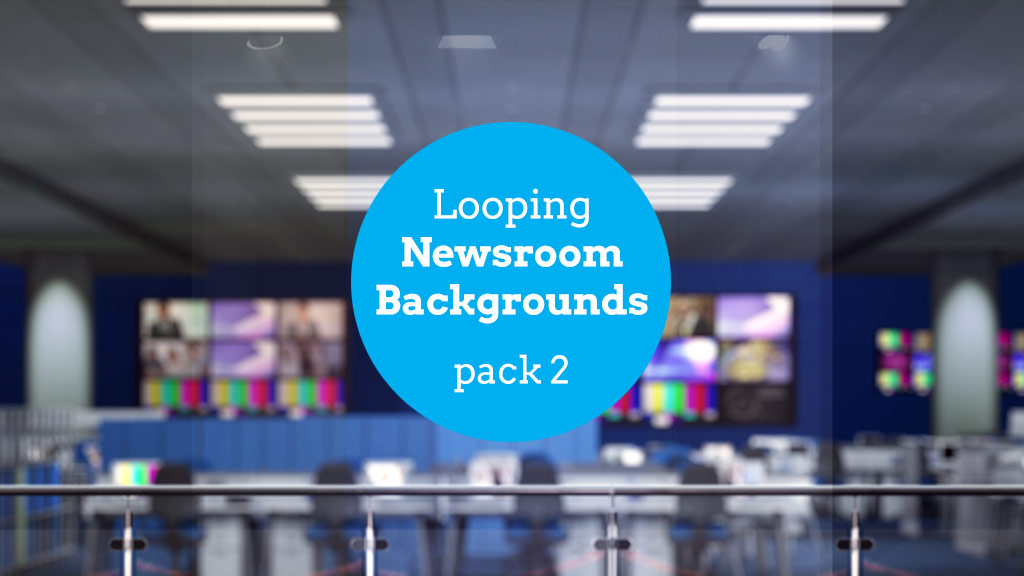
To make things easier for customers with primarily ‘blue’ branding, I have made a whole new pack of Newsroom backgrounds where everything has been adjusted individually to work more pleasantly when the midground lightboxes are blue. Here’s what it looks like…
You can find the new pack in the ‘Extras‘ section of the store, or follow the link below.
Newsroom Backgrounds – Pack 2 (blue)
These blue ‘News Room’ backgrounds are also included free with any Studio 3 product. I may add more variations at some point (green next, probably). But if you need a special adjustment done in the meantime, then please feel free to drop me a line.